UPCYCLE DIY EYEGLASS CASE

COST: FREE!!

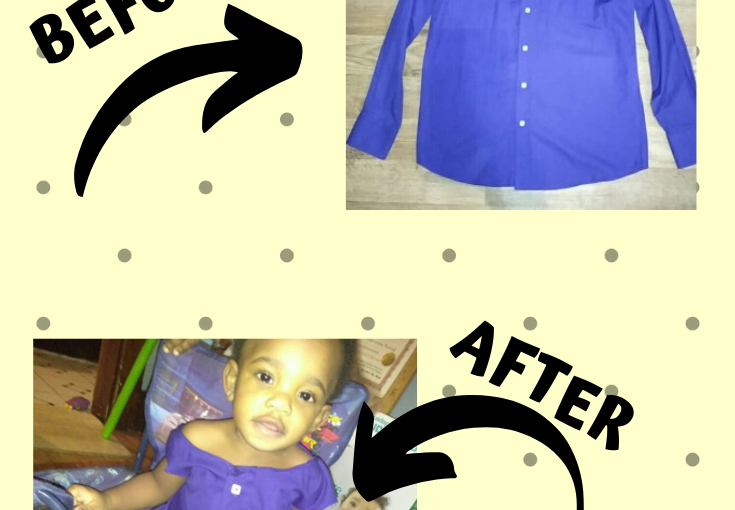
I used two of the shirts that my husband gave me from and a free template from Pinterest for the case.

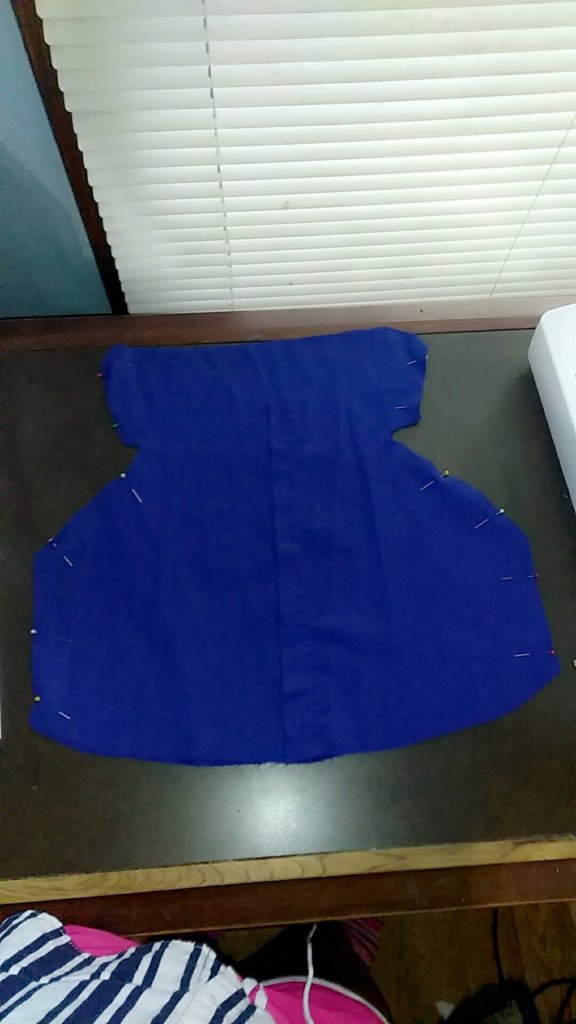
I cut out two pieces of fabric and three pieces of interfacing. I tried to make my own bias tape using the dark blue fabric (it was interesting to say the least & a slight fail).

Since the fabric was so similar on the right and wrong side I figured I would mark the wrong side so that I didn’t get confused. My simple ass didn’t realize that it would bleed through UGHHH!!! Also, the logo wasn’t centered which really bothered me. I sewed around the edges and a turned it right side out.

img_20171219_171105-1804335915.jpg

Attaching the dark blue fabric was challenging and looks a little sloppy and check out the logo all awkwardly placed and what not LOL. The purpose behind this d.i.y is to hold my sun glasses while they sit in my car or purse so the imperfections are ok. I will definitely try this again but with fusible fleece to make my life easier.

Let me know if you try this DIY and/or some suggestions that you have in the comment section!

Thanks for stopping by!

with love as always,

JamieJabber


DIY ‘microwavable’ HEAT PAD

Disclaimer: These are complete beginner projects so even mine won’t be perfect!

Heat pack: COST TO MAKE: FREE

I found this DIY browsing on Pinterest. When I first saw this I figured it would be perfect for my cramps and back pain. The only items needed for this are fabric, rice and a sewing machine (or you can hand sew if you’re into that kind of torture). My wonderful husband was gracious enough to let me go through his clothes and use some of his old shirts for my projects, thanks babe! This was SUPER easy & quick to make.

I cut the fabric into two 10″ X 10″ squares. Since the shirt that I used was plaid it really helped in terms of measurement and cutting. The squares were .5 in X .5 in. 

I folded the fabric 1/2 an inch and pressed it then I lined the fabric wrong sides together.

linessss
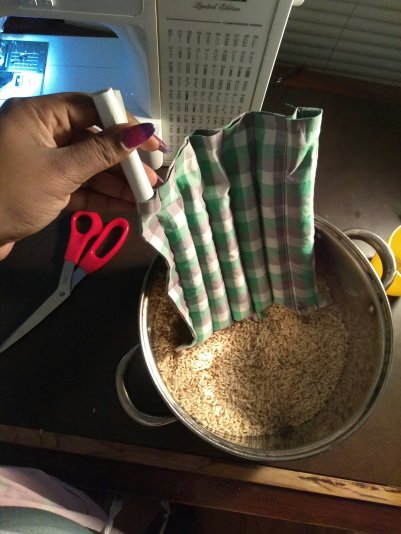
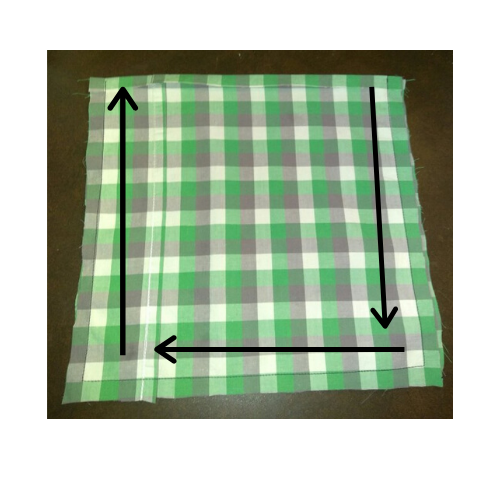
sew around the perimeter leaving the top open (black stitching).

I cut some of the excess fabric from around the corners to make the corners lay flatter and neater. Then I turned it right sides out and ironed it. Use your scissors to help with corners.

Then I measured 1.5″ and marked it with highlighter then sewed a line across horizontally (black stitching at the top) this will make it look neater in the end and  help to keep the rice in place

img_20171206_174318962060300.jpg

sew where you/I made the marks, back stitching at both ends for added strength.

I used a cup and a funnel to fill the spaces. You want to make sure the rice is PACKED in there but don’t fill it to the top (leave about an inch) because it still needs to be closed. So every couple seconds I kept pushing the rice down and made sure that it was stuffed in there really good

img_20171206_175950-1496219422.jpg

One of my spaces was a little smaller so I rolled up a piece of paper and was still able to get the rice in.

I pinned it down where the rice stopped and then sewed it 1/2 inch from the edge, back stitching at both ends of course.

Once you sew it take the needles out it’s ALL DONE! I heated it up for one minute to see if it worked and it actually did. It felt SOOO good when I put it on my back the following morning!!! 

D.I.Y up cycle baby dress. COST TO MAKE: FREE

snapchat-16516023422108451175.jpg
For this DIY all you need is an old shirt.
snapchat-4597268621441140231.jpg
Cut off the sleeves and collar
snapchat-2021155671-558224292.jpg
To make this a lot easier use a dress as a pattern to trace around. I gave myself 1 inch for seam allowance.
snapchat-1892746462-1798882763.jpg
Sew along the sides and shoulders.
img_20171201_1657041766674282.jpg
I hemmed the edges (which I’m still a work in progress on) and DONE! So this isn’t actually what I was going for. I made the neck too big and decided that it could be am off the shoulder dress but I think I needed elastic which I didn’t have. She is still adorable nonetheless!!